How do I install SuperRepo?
For those who know how to use virtual sources: The address is http://srp.nu.
Tutorial
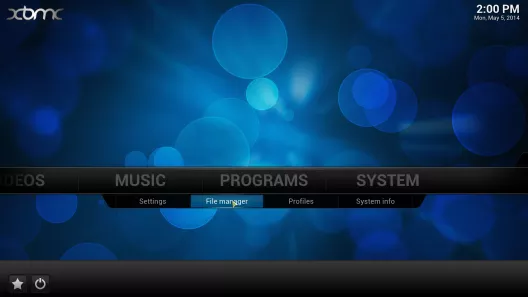
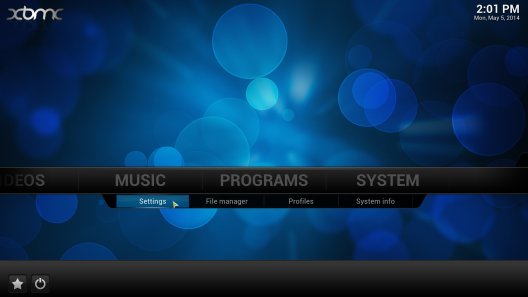
Step 1: Navigate to “SYSTEM” and open “File Manager.”
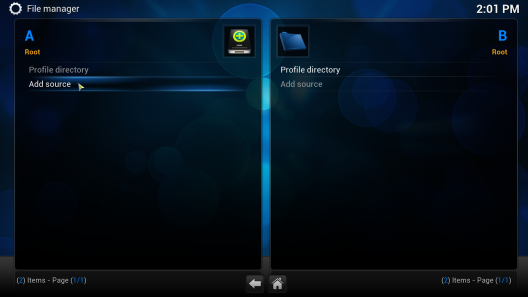
Step 2: Select “Add Source” on the left side of the screen.
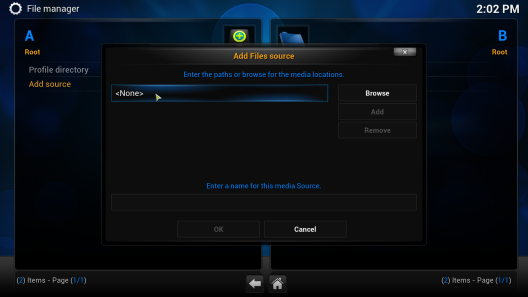
Step 3: Click on the text box that says to open up the keyboard.

Step 4: Type http://srp.nu (from SuperRePo)on the keyboard and then click the “Done” button
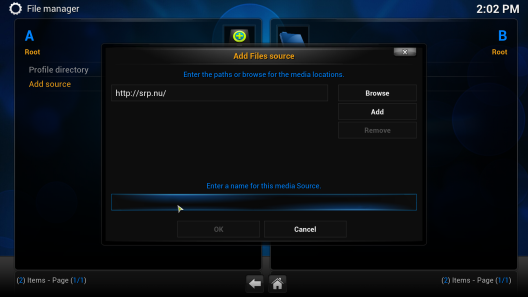
Step 5: Click the empty text box at the bottom under “Enter a name for this media Source.”
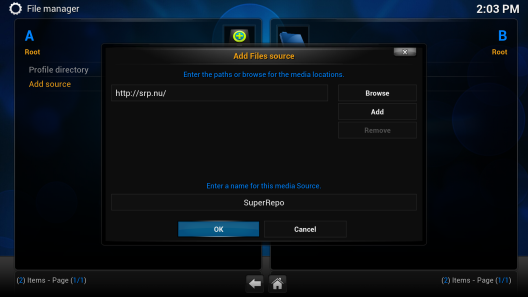
Step 6: Type a name for the source (for example:SuperRepo). Once done press the “Done” button again.
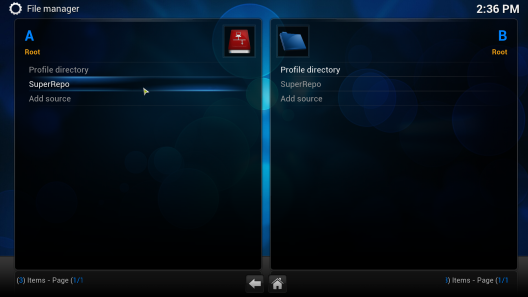
Step 7: Click OK. Your File Manager window should now look like this.
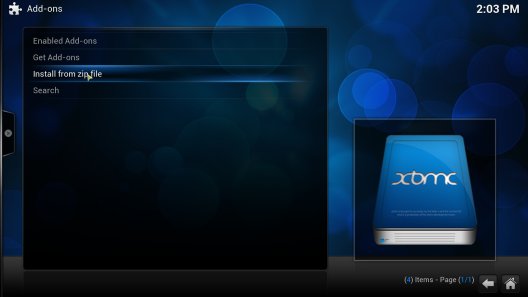
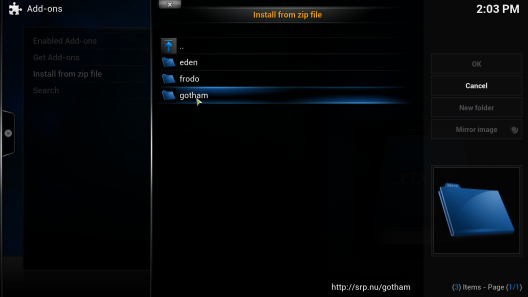
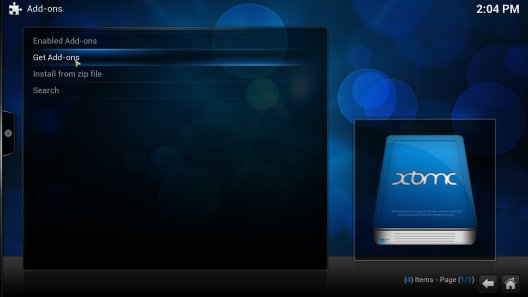
Step 8: Return to the home screen and go to System >> Addons >> Install from zip
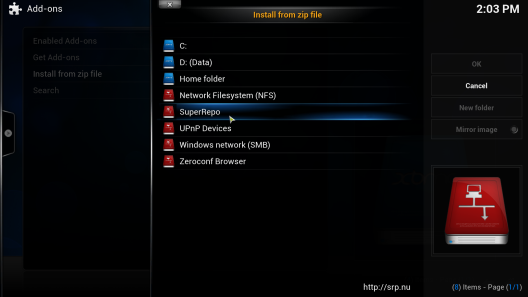
Step 9: Click at the source you just added
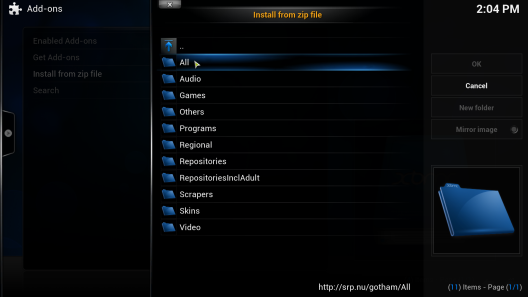
Step 10: Click the repository’s zip you want to install. For example: Isengard/All/Repositories/[here-goes-the-name].zip
Step 10b
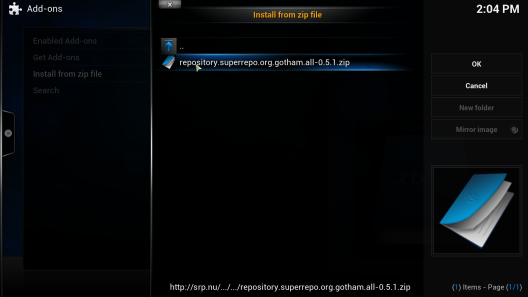
Step 10c (filename has changed)
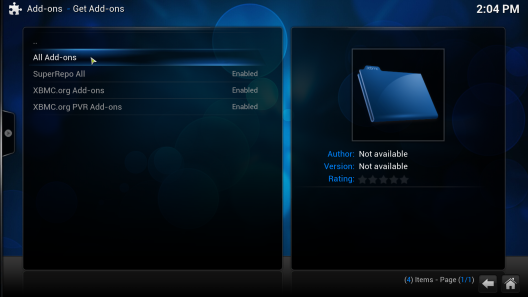
Step 11: The repository should now be visible when you go to System >> Addons >> Get Add-ons.
Step 11b
You have installed SuperRepo and have access to all addons*!
Wasn’t that easy? If you upgrade your Kodi, you can start from step 8 as the virtual source will stay installed.
One last thing
Now you have installed SuperRepo, you can access all addons and this has saved you at least half an hour! If you want to show your appreciation and help SuperRepo improve even further, you can donate a few bucks Tnx!